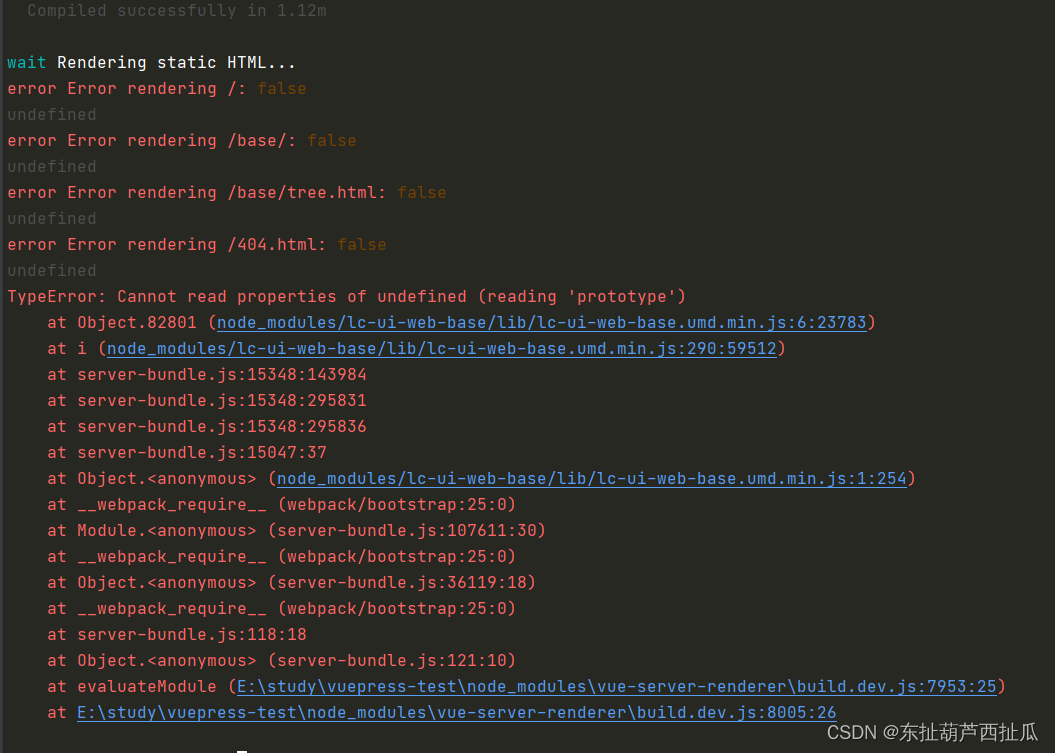
vuepress打包报错:error Error rendering /:
标签: vue typescript 前端 markdown vuepress
问题
使用vuepress写文档网站,为了实现element-ui类似的组件预览效果,项目里面将ant-design-vue和基于ant-design-vue的自己封装的组件引入项目中,开发环境能正常运行。当运行Build打包后,报错:error Error rendering /:
方案1
经查询vuepress github issuse 得到的答案是,vuepress是服务端渲染的,浏览器的 API 访问限制。在页面加载第三方组件的时候,可能出现找不到的情况,建议在当前页面使用时再引入。
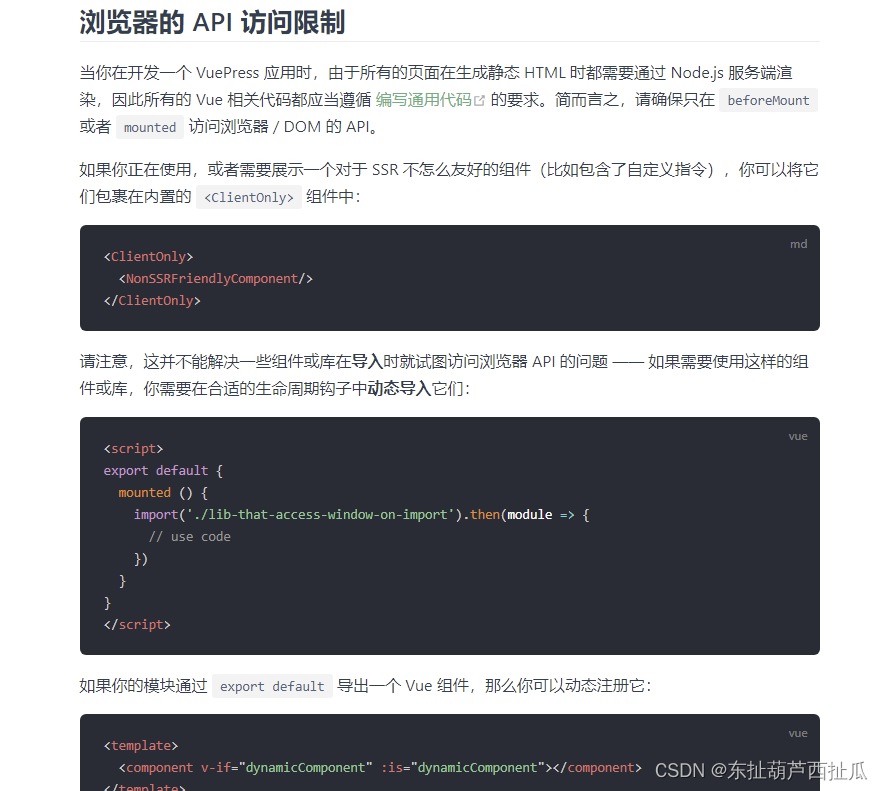
当然,如果不需要组件预览效果,及:::demo标志,就不会报错。需要该效果时,按照官网的做法,使用component标签,在需要的md 代码块里面动态加载组件,可以解决该问题
 mounted(){
          import("my-component").then(myComponent=>{
              console.log("myComponent", myComponent)
              this.dynamicComponent = myComponent.Tree
          })
      },
当然还有一种方法就是在mounted里面import组件并且注册组件,template部分照常使用之前的标签
<template>
	<my-tree/>
</template>
<script>
import Vue from "vue"
	export default {
		mounted(){
		 import("my-component").then(myComponent=>{
              console.log("myComponent", myComponent)
              Vue.component("myTree",myComponent.Tree)
          })
		}
	}
</script>
然而运行后,报错my-tree没有注册。Unknown custom element: - did you register the component correctly? For recursive components, make sure to provide the “name” option.
found in
方案2
方案1,问题看是解决了,没有报错了,但是。这不是我们想要的。
本质需求是实现组件库的组件预览效果,并且能复制代码,方案1能预览,但是代码都变成了component标签,不符合需求。
接下来我们想排查下是什么组件影响了打包:
采用本地建测试仓库,本地建测试组件库,本地建测试文档项目,逐个移植原组件库的组件到测试组件库中,发布到测试仓库后,更新测试文档,然后执行本地预览和打包命令。最终找出影响打包的组件有dialog,uploadAvatar,preview,cropper-img等组件。这些组件的共同点就是都直接或间接用到了document操作dom,还有其他window的方法,或者bom的方法事件,或者在组件内注册第三方组件,如本项目中就用的atob,btoa,这个也是造成出现该错误的原因之一。经在upoadAvatar去掉document得到验证。目前除了这几个组件,其他均可以实现组件预览效果。但是这几个组件只要引入就报错,也影响了全局。
最终解决
知道了问题所在,结合上面的思路,总之的一点就是想要用window或bom方法事件,一定要在mounted后执行。这里来一个一个看。首先看dialog组件,之所以会报错就是dialog组件在created生命周期的时候用了document(下面只展示关键代码,多余的代码略)
import { VNode } from "vue"
import { Component, Prop, Vue, Watch } from "vue-property-decorator"
import { dialogConfig } from "./type"

export default class Dialog extends Vue {

  created() {
    this.dialogInit()
    this.getWindowSize()
  }


  /**
   * 弹窗初始化
   * @private
   */
  private dialogInit():void {
       this.id = "lc-dialog" + (Math.random() * 1000000 + new Date().getTime()).toString(16).split(".")[0]
    this.$nextTick(() => {
      const dialogDom:any = document.getElementById(that.id)
      if (!dialogDom) {
        return
      }
      this.dialogDom = dialogDom
      this.headerDom = dialogDom.querySelector(".ant-modal-header")
      this.footerDom = dialogDom.querySelector(".ant-modal-footer")
    })
  }


  /**
   * 获取窗口尺寸
   * @private
   */
  private getWindowSize():void {
    const that = this as any
    this.windowSize = {
      windowWidth: document.documentElement.clientWidth,
      windowHeight: document.documentElement.clientHeight
    }
    // // console.log(that.dialogScreen)
    // // console.log(that.isScreen)

      window.onresize = () => {
      if (this.dialogScreen && this.isScreen) {
        clearTimeout(this.debounceTimeOut)
        this.debounceTimeOut = setTimeout(() => {
          this.windowSize = {
            windowWidth: document.documentElement.clientWidth,
            windowHeight: document.documentElement.clientHeight
          }
        }, 300)
      }
    }
  }
  render (h:any):VNode {
        ...
     }
}
那这里就很简单,将created改成mounted就行
再来看看图片裁剪组件,之前的代码是
<!--图片裁剪-->
<template>
  <lc-dialog
    :title="title"
    :visible.sync="visible"
    :width="800"
    :footer="null"
    ref="cropperModal"
    :before-close="beforeClose"
    :z-index="zIndex"
  >
      <vue-cropper
            ref="cropper"
            :img="img"
            :info="true"
            :auto-crop="options.autoCrop"
            :output-type="config.outputType || (config.originFile ? config.originFile.type : '')"
            :auto-crop-width="options.autoCropWidth"
            :auto-crop-height="options.autoCropHeight"
            :fixed-box="options.fixedBox"
            @real-time="realTime"
          >
          </vue-cropper>
  </lc-dialog>
</template>
<script>
import Vue from "vue"
import VueCropper from "vue-cropper"
import { getZIndexByDiv } from "../../utils/lc-methods"
Vue.use(VueCropper)

export default {
  name: "CropperImg",
  ...
}
</script>
这里需要解决的是vue-cropper组件的按需引入问题。按照vue-press的思路,可以使用动态import,于是开始尝试如下:
<!--图片裁剪-->
<template>
  <lc-dialog
      :title="title"
      :visible.sync="visible"
      :width="800"
      :footer="null"
      ref="cropperModal"
      :before-close="beforeClose"
      :z-index="zIndex"
  >
        <component
              v-if="component"
              :is="component"
              ref="cropper"
              :img="img"
              :info="true"
              :auto-crop="options.autoCrop"
              :output-type="config.outputType || (config.originFile ? config.originFile.type : '')"
              :auto-crop-width="options.autoCropWidth"
              :auto-crop-height="options.autoCropHeight"
              :fixed-box="options.fixedBox"
              @real-time="realTime"
          />
  </lc-dialog>
</template>
<script>
import { getZIndexByDiv } from "../../utils/lc-methods"

export default {
  name: "CropperImg",
  mounted() {
  import("vue-cropper").then(VueCropperModule => {
	this.component = VueCropperModule.VueCropper
	}
 },
 ...
}
</script>
然而运行后发现,没有生效。于是将import(“vue-cropper”).catch打印发现竟然报错了。vuepress是走node服务渲染模式,也可能和nodejs 服务端渲染不支持import有关,于是改成require引入,如下
<!--图片裁剪-->
<template>
  <lc-dialog
      :title="title"
      :visible.sync="visible"
      :width="800"
      :footer="null"
      ref="cropperModal"
      :before-close="beforeClose"
      :z-index="zIndex"
  >
        <component
              v-if="component"
              :is="component"
              ref="cropper"
              :img="img"
              :info="true"
              :auto-crop="options.autoCrop"
              :output-type="config.outputType || (config.originFile ? config.originFile.type : '')"
              :auto-crop-width="options.autoCropWidth"
              :auto-crop-height="options.autoCropHeight"
              :fixed-box="options.fixedBox"
              @real-time="realTime"
          />
  </lc-dialog>
</template>
<script>
import { getZIndexByDiv } from "../../utils/lc-methods"

export default {
  name: "CropperImg",
  mounted() {
    const VueCropperModule = require("vue-cropper")
    // console.log("VueCropperModule", VueCropperModule)
    this.component = VueCropperModule.VueCropper
  },
 ...
}
</script>
结果成功,引入该组件后,也不会再报错error Error rendering /:
然后看看头像上传组件,这个也比较坑。这个组件mounted没有document,也没引入第三方组件。无奈,只有使用注释大法逐步查找,最后确定是组件内部引入压缩图片的方法造成
import { compressImageFun } from "../../utils/img-method"
发现只要组件引入了该方法,不管是否使用,都会报错,而注释该方法就万事大吉。
于是取查找compressImageFun相关,开始因为无头绪,同样只能使用注释大法,最后查到罪魁祸首是atob,btoa函数。这样那么解决办法和引入第三方组件类似。compressImageFun里面不需要动,改引入的地方就行,如下
export default {
  name: "UploadAvatar",
  data () {
    return {
      compressImageFun: null, // 压缩函数    注意这里因为无法直接使用compressImageFun,所以需要存在data中使用
    }
  },
  mounted() {
    const imgMethod = require("../../utils/img-method")
    this.compressImageFun = imgMethod.compressImageFun
  },
  methods: {

    /**
     * 上传之前
     * @param file
     * @returns {boolean}
     */
    async beforeUpload (file) {
      return new Promise(async (resolve, reject) => {
      ...省略若干代码
        if (!this.noCompress) {
          newCompressFile = await this.compressImageFun({ file: cropperFile || file })
          cropperFile = newCompressFile.data
        }
     ...
      })
    },
}
至此,该错误被攻克!!!
智能推荐
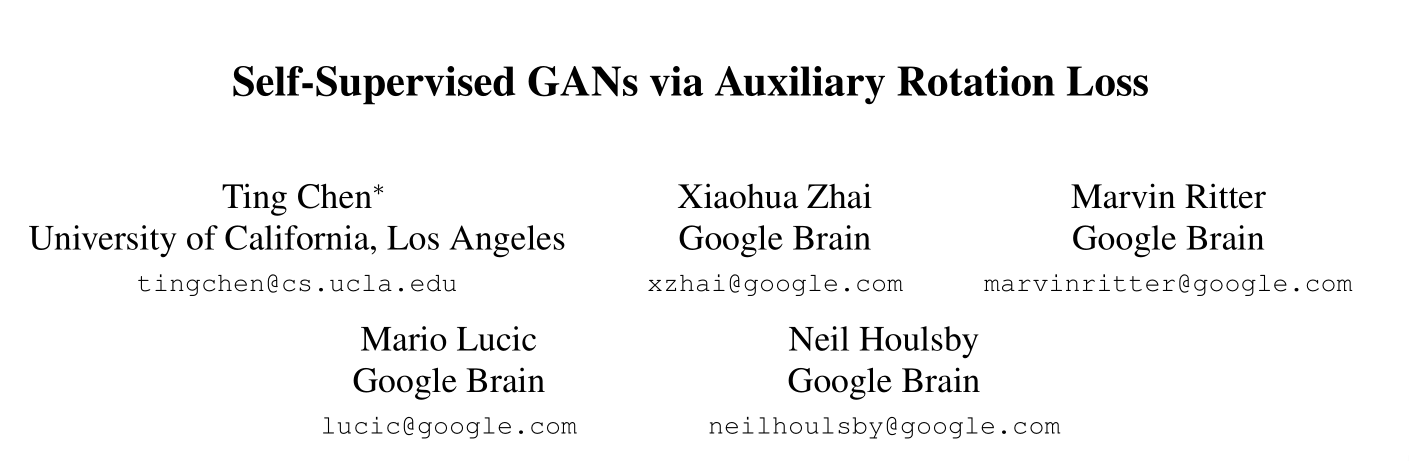
CV笔记03:自监督GAN(ss-gan)
无需标注数据,利用辅助性旋转损失的自监督GANs,-- 对抗+自监督的无监督方式 《通过辅助旋转损失进行的自监督GAN》CVPR 2019 论文速看 0.摘要 目前自然图像合成主要是条件GAN,但是其缺点是需要标注数据。 我们利用两种流行的无监督学习技术,对抗训练和自我监督,并朝着缩小有条件GAN和无条件GAN之间的差距迈出了一步。 我们允许网络在代表学习的任务上进行协作,同时相对于经典GAN博弈...

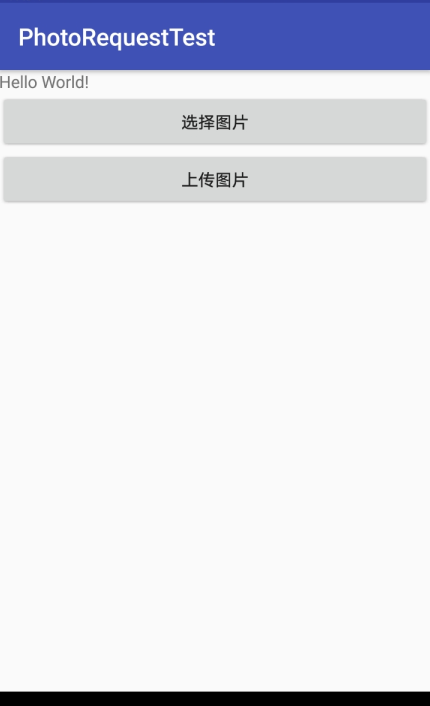
Retrofit(三)上传文件
想了想,觉得还是把自定义的东西放到最后再讲,所以讲下用Retrofit上传文件,就拿上传图片来说,因为上传图片我是想写一个专题的,包括以下: 1.上传图片操作 2.展示图片操作 3.选择图片操作 上传图片这篇讲,用Retrofit,之后我还想写一篇是用httpurlconnection的,因为用它会有个拼接的操作,只有经历过拼接才会更深刻的了解使用Http上传文件的过程。展示图片我其实已经写完了,...
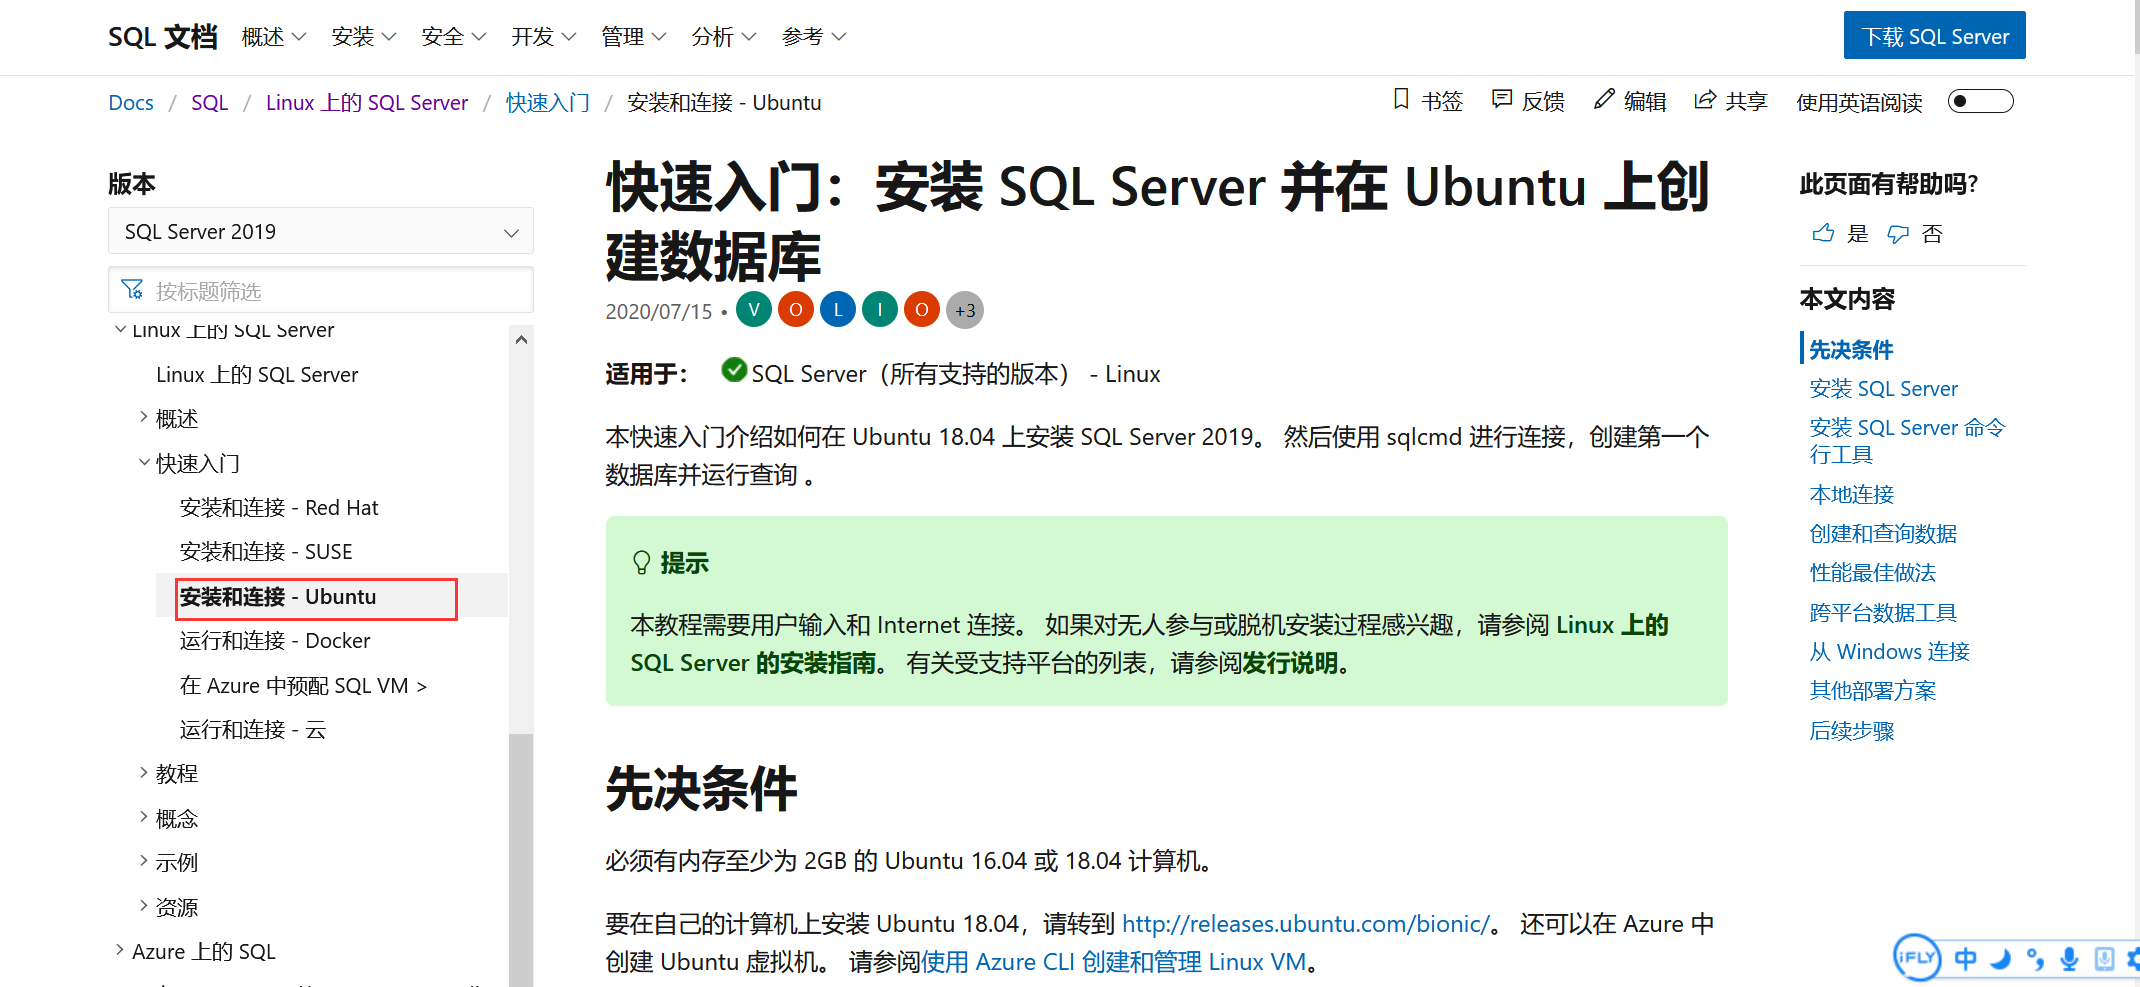
Linux安装SQL2019
官方文档 导入公共存储库 GPG **: 为 SQL Server 2019 注册 Microsoft SQL Server Ubuntu 存储库: 使用以下命令进行安装 SQL2019: 包安装完成后,运行 mssql-conf setup,按照提示设置 SA 密码并选择版本,并执行以下命令: 完成配置后,验证服务是否正在运行:...
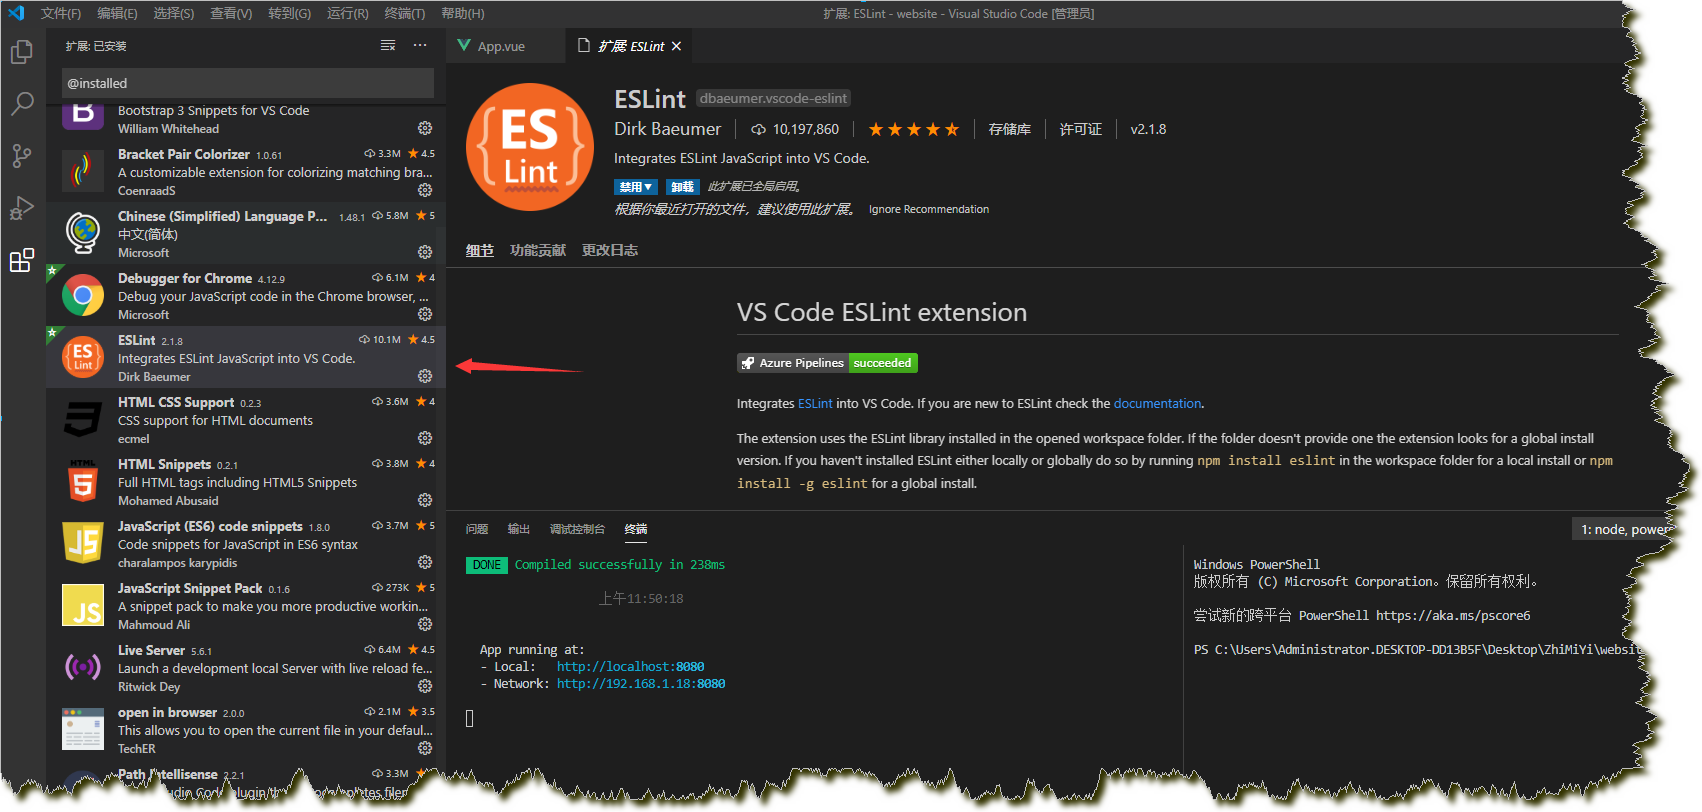
vue-cli使用vscode编辑器如何自动eslint检测
VSCode 保存时自动ESlint格式化 Eslint 自动格式化 首先安装ESLint插件 2.安装完成后,每次修改完代码都需要执行 "npm run lint"之后才能格式化 打开设置选项 编辑代码settings.json 新建.eslintrc.js文件 根据eslint官网规则(eslint官网),编写eslintrc.js文件 保存之后,今后在保存时就能自动ESL...
猜你喜欢
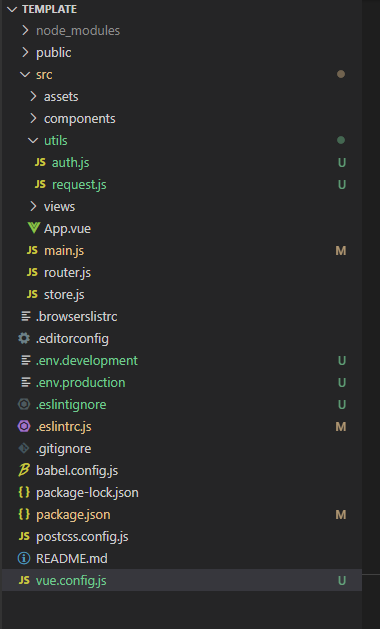
搭建VUE脚手架(二)---修改完善cli3
光创建完cli3脚手架只是成功了一半,现在还无法直接使用(确切地说还不好用),还需要继续改造 这是本文修改后项目的目录结构,创建文件时可以参考。 1.创建vue.config.js 2.创建常量配置文件(.env.development和.env.production),用于存放常量 .env.development .env.production 3.ESLink配置(别问为什么,问就是我严格语...
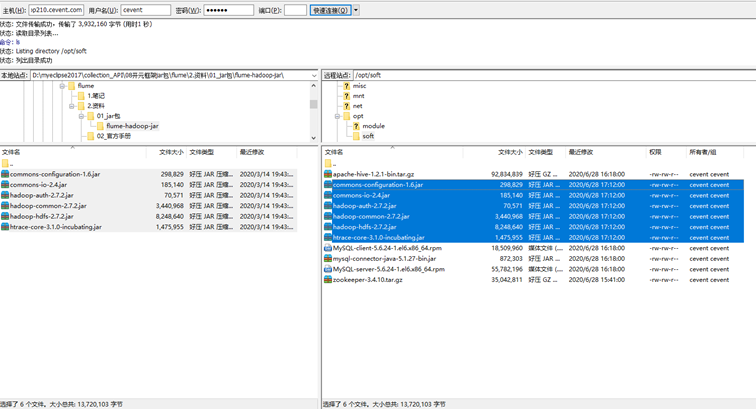
hadoop-zookeeper-hive-flume-kafka-hbase集群,解决登录报错,Cli.sh启动失败,Error: java.lang.UnsupportedClassVersion
1.克隆虚拟机之前清理垃圾 2.选中“克隆虚拟机”:“右键→管理→克隆” 弹窗 操作 1 下一步 2 克隆自:虚拟机中的当前状态 3 创建完整克隆 4 虚拟机命名,选择存储位置 5 完成 3.配置IP 3.1获取地址:vi /etc/udev/rules.d/70-persistent-net.rules 3.2修改本机IP:vi...

访问日志
1.访问日志不记录静态文件 一个网站会有很多元素,比如图片、js、css等静态文件比较多,用户每请求一个页面就会访问很多的静态元素,这些元素的请求都会被记录到日志中去。如果一个网站访问量比较大,那么访问日志就会增加的非常快,甚至一天就可以达到几个GN。这不仅会对服务器的磁盘空间造成影响,更重要的是会影响磁盘的读写速度。 ...

苹果2016年或失去“世界最大公司”头衔
× loading.. 企业网D1Net 登入注册 当前位置:新闻中心 → 行业动态 → 正文 苹果2016年或失去“世界最大公司”头衔 责任编辑:jackye 作者:风帆 | 2016-01-15 09:03:57 本文摘自:腾讯科技 苹果2016年或失去“世界最大公司”头衔 1月15日,据国外媒体报道,随着谷歌在智...
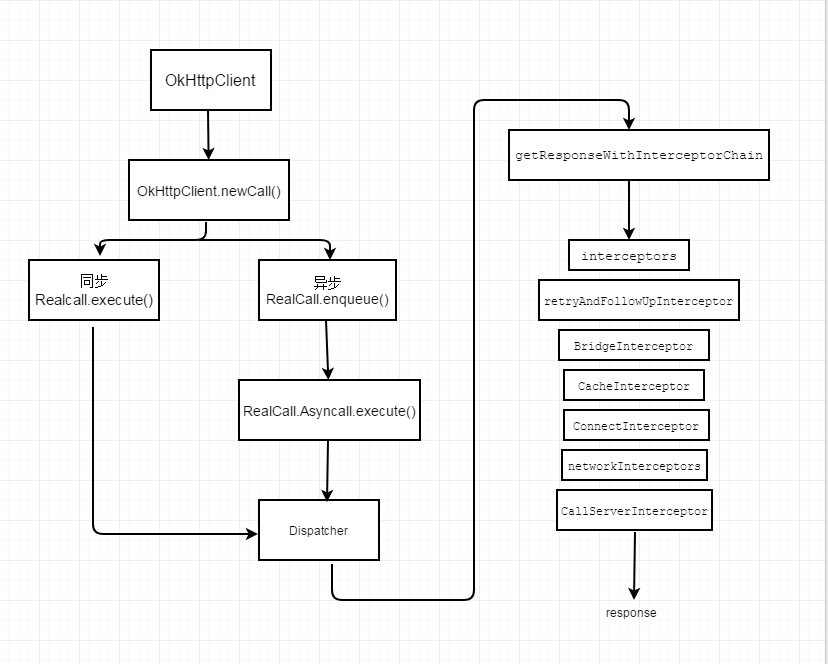
OkHttp源码分析
上面是Okhttp发起一个同步/异步请求时,方法调用流程图。 Okhttp的使用 我们看到,通过okHttpClient.newCall()方法,拿到这个call对象,然后调用了Call.enqueue,我们先看看newCall是怎么走的。 里面就new了一个RealCall,所以再看RealCall的enqueue方法。 可以看到client.dispatcher().enqueue(new A...